
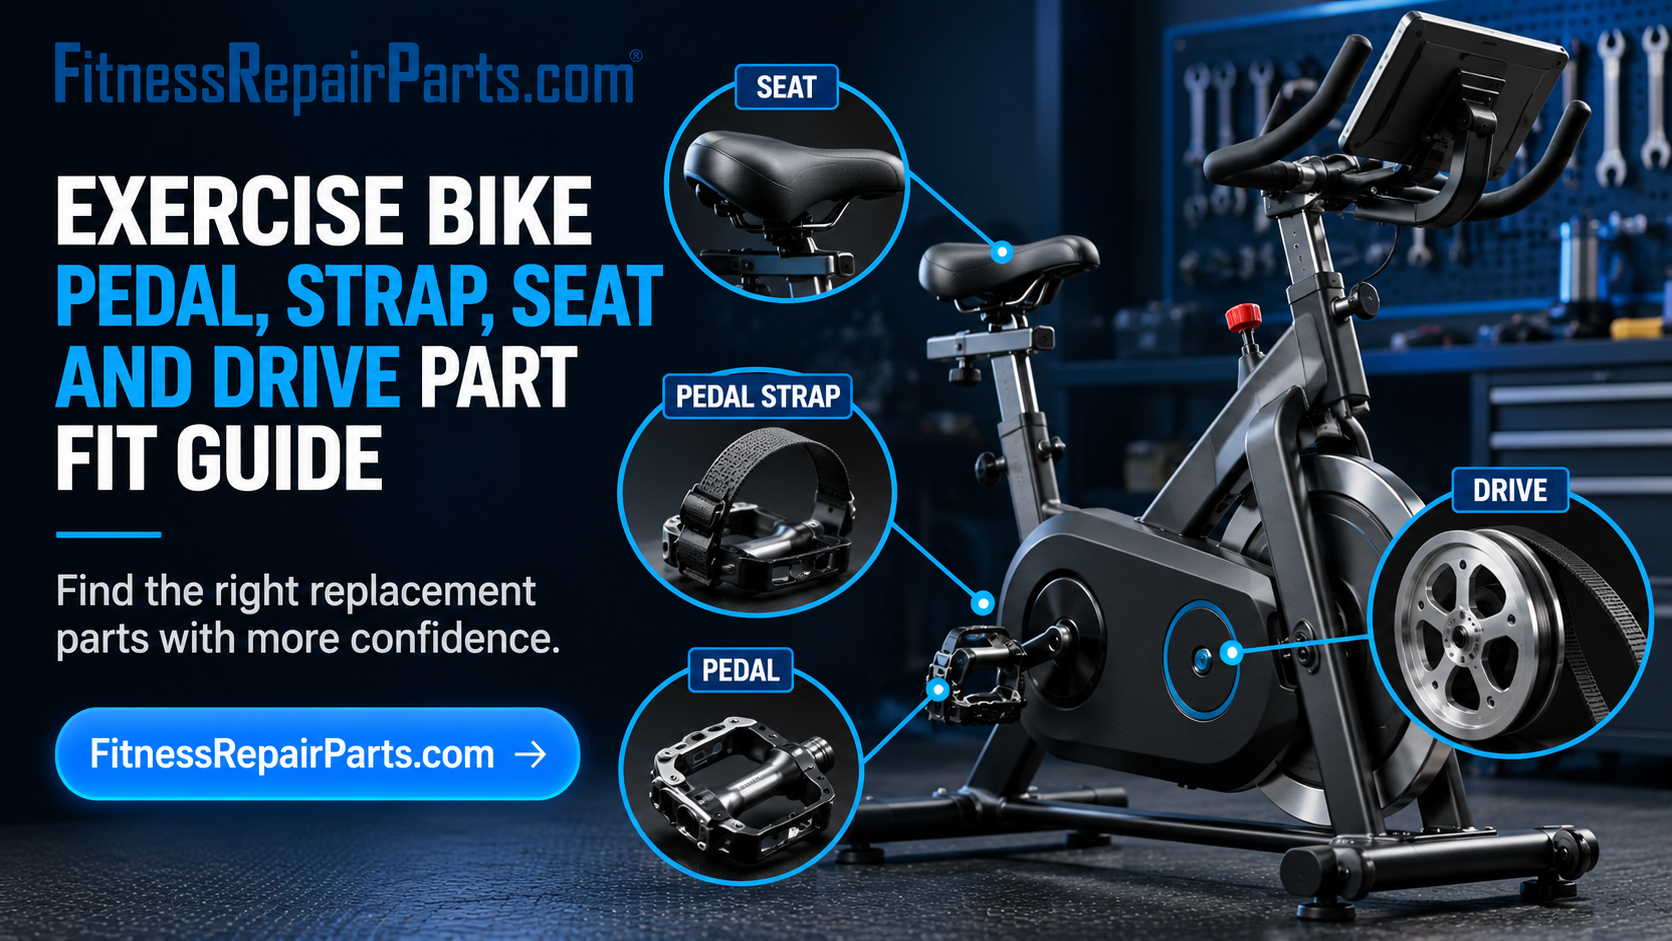
Slipping feet, sore hips, or a noisy crank can turn a good ride into a short one. The fixes are usually simple once you match the right part to your exact model.
This guide shows you how to identify the correct pedals, straps, seats, and drive components for your upright or recumbent bike. You will also see how to read labels, use diagrams, and install common parts safely.
If you know your model or part number already, you can confirm fit on FitnessRepairParts.com in minutes using search and the exploded diagrams. If not, the steps below will help you find it fast.
Quick identification: names, labels, and how to confirm fit
What pedal straps are called: You will see terms like toe strap, pedal strap, or foot strap. On cages, the full assembly is often called a toe cage or pedal cage. Many commercial bikes use a two-slot strap that threads through a molded cage.
Are bike pedal straps safe: Yes, when undamaged and adjusted correctly. Replace cracked, stretched, or brittle straps. Keep them snug so your foot cannot bounce out.
How tight should pedal straps be: Snug enough to keep the ball of your foot centered, but loose enough to slide a finger under the strap. If your toes tingle or your foot goes numb, loosen one notch.
Do any pedals fit any bike: No. Most exercise bikes use standard 9/16 inch pedal threads, but some use 1/2 inch or brand-specific cranks. Check the thread size and crank type on your model page or the old pedal.
Find the model label on the frame, often near the front or rear stabilizer or under the frame. If you cannot find it externally and the tag is missing, check the owner’s manual first. Only as a last resort, remove plastic covers to look for a hidden label after unplugging the machine and following the safety notes below.
Once you have the exact model or a manufacturer part number:
Use model number lookup or the manufacturer part number search on FitnessRepairParts.com (look for the part on the model’s exploded diagram and match the callout).
Compare photos, measurements, and slot style for straps, the rail width for seats, and thread size for pedals.
For bikes with multiple revisions, confirm against the serial number range on the diagram when shown.
Two helpful starting points:
If you need a strap or a replacement bike pedal set, browse the bike accessories and confirm thread size and strap style. You can start from the site’s main catalog for fitness equipment replacement parts at FitnessRepairParts.com.
If you need drive components such as V-belts, use the drive belt replacement category and then verify the belt profile and length on your model diagram.
Pedal and strap fit, safety, and installation
Prevent foot slip by pairing the correct strap style with the correct cage and pedal. Common strap styles:
Two-slot molded cage strap: Thread the strap from the outside slot to the inside slot so the tail points away from the crank arm. Adjust one notch at a time.
Single-buckle strap on platform pedals: Feed from the bottom up through the buckle so the tail exits on the outside of the shoe.
Bolt-on straps: Align holes, bolt through the cage and pedal face, and apply blue threadlocker if the manual recommends it.
Basic steps to install typical two-slot straps:
With the bike unplugged, remove the old straps and clean the pedal surface.
Insert the tapered end of the strap through the front outer slot, pull to set initial length, then route through the inner slot.
Sit on the bike, place the ball of your foot over the spindle center, and tighten until secure but not constricting.
Re-check after the first ride; straps can settle one notch.
Safety notes:
Replace worn pedals with sharp edges or loose cages.
Confirm left and right pedals: the left pedal is left-hand threaded. Start by hand to avoid cross-threading, then torque to spec in the owner’s manual.
If you need new straps or a pedal set, you can review bike pedal straps and related bike accessories in the catalog and confirm fit using your model page.
Seat comfort and compatibility
Can you replace an exercise bike seat? Usually yes. Most stationary bikes use a rail-and-clamp saddle like outdoor bikes, or a post-mount with a specific clamp. Are stationary bike seats universal? Not entirely. Many saddles will cross-fit, but you must check:
Rail width: Standard twin rails are roughly 44 mm center-to-center. Measure your current saddle rails and compare.
Clamp style: Some recumbents use slide-rail seat pans or brand-specific clamps.
Post diameter or adapter: Uprights may use a seatpost with a micro-adjust clamp; others use a direct-mount pan.
Choosing a seat that fits:
Match rail width and clamp type first.
Select a shape that matches your posture: broader for upright comfort, narrower for high-cadence training, with padding or a cutout as preferred.
For recumbents, verify the seat back and bottom are separate parts and order both if needed.
You can browse stationary bike replacement parts by type and then confirm on the exploded diagram for your exact model. When you install, set saddle height so your knee has a slight bend at bottom dead center and adjust fore-aft so the knee tracks over the pedal spindle.
Drive components: chains, belts, and bearings
When to replace:
Belt or chain: Replace if you hear chirps, feel slip under load, see frayed fabric or cracked ribs on a belt, or notice rusted, stiff chain links.
Bearings: Replace sealed crank or pedal bearings if there is play, grinding, or noise that persists after tightening pedals and cranks.
Measuring a chain:
Pitch is the distance between pins, typically 1/2 inch on most bicycle-style chains. Count a set of links over a known length to confirm. Match pitch and width to your model diagram.
Important ordering note:
Chains sold by the foot are non-returnable once cut. Double-check pitch, width, and required length against the old chain or the diagram before ordering.
For belt-driven bikes, use your model page to identify the correct profile and length, then select the right item from the drive belt replacement category. Always compare tooth profile or V-belt width on the diagram.
Essential safety checklist for any repair
Unplug the equipment (if equipped) before you begin.
Follow the owner’s manual for torque specs and procedures.
Secure cranks and pedals to the specified torque, and re-check after the first ride.
Wear PPE such as gloves and eye protection. Use cleaners and solvents in a well-ventilated area. Never spray liquids on consoles or electronics; apply cleaner to a towel first and keep moisture away from vents and seams.
Inspect related parts during any repair: pedal threads, crank arms, bottom-bracket bearings, belts, pulleys, and fasteners. Replace damaged parts before riding.
Ordering, stock status, and backorders
On FitnessRepairParts.com, item pages show current inventory. Typical indicators include Currently In Stock, In Stock - Limited, Out of Stock, and On Order. Many items display volume discount tiers on the page. Backorders are noted when manufacturers are delayed or discontinuing items. For fast confirmation, use the model number lookup to pull the diagram, then select the called-out item number.
Need a quick starting point for a complete overhaul across brands and categories: you can search the full catalog of fitness equipment parts and then narrow by your exact model to confirm fit. If you are working on a belt-driven unit and already know your belt type, start with the drive belt and V-belt section to see comparable belt formats, then confirm your specific bike belt on your model page.
Quick FAQ
Are bike pedal straps safe: Yes, when intact and adjusted snug, not tight. Replace if cracked or stretched.
What are the straps on bike pedals called: Pedal straps, toe straps, or part of a toe cage.
How to put foot straps on bike pedals: Thread through the outer slot then the inner slot on two-slot cages, set length, and test while seated. Follow the owner’s manual for your style.
How tight should pedal straps be: Finger-snug. Secure enough to prevent bounce, never numbing.
Do any pedals fit any bike: No. Confirm 9/16 inch vs 1/2 inch threads and the crank style on your model page.
Can you replace an exercise bike seat?: Usually yes. Match rail width and clamp type or the seat-pan interface.
Are stationary bike seats universal: Not fully. Many fit if the rail width and clamp match; confirm before ordering.
Summary
Find your label, confirm on the diagram, and match by measurement. Replace worn straps and pedals to stop foot slip, choose a seat that fits your clamp and riding posture, and service belts, chains, and bearings when noise or play appears. Unplug, follow the manual, and torque to spec. When you are ready to order, use the model number lookup to confirm exact fit. For straps, pedals, and common saddle parts, start with bike pedal straps and stationary bike replacement parts, confirm details, and ride comfortably again.


